Configure single sign-on (SAML)
Single sign-on lets your team sign in to GetMint with their corporate identity — Entra ID, AD FS or any SAML 2.0 provider — and, once it is on, makes that the only way in.
Single sign-on lets your team sign in to GetMint with their corporate identity — Entra ID, AD FS or any SAML 2.0 provider — and, once it is on, makes that the only way in. It is an Enterprise feature that an organization admin sets up alone, from Settings → Team, in four steps: enter your identity provider, register GetMint in it, run a test sign-in, turn it on. Verifying an email domain is an optional fifth step that lets GetMint create accounts on first sign-in.
- Plan
- Enterprise
- Who sets it up
- Organization admins
- Where
- Settings → Team
- Protocol
- SAML 2.0
Before you start
- Single sign-on enabled on your organization. It is switched on per organization as part of the Enterprise plan. No Single sign-on (SAML) card under Settings → Team? Ask your CSM.
- The Admin role in GetMint — only admins see the card.
- Admin rights in your identity provider, enough to create an application and assign people to it.
- DNS access for your email domain — only for automatic account creation. Skip it otherwise.
How sign-in works once it is on
A colleague types their work email on the sign-in page, GetMint recognizes the organization, shows Continue with single sign-on and sends them to your provider. They come back signed in. Starting from your provider's application portal works too.
For those addresses, password, magic link and Google sign-in are all refused with "Your organization requires single sign-on" and bounced to the provider. Covered: everyone already on your team, whatever their email domain, plus anyone on a verified email domain before their first sign-in.
Step 1 — Enter your identity provider
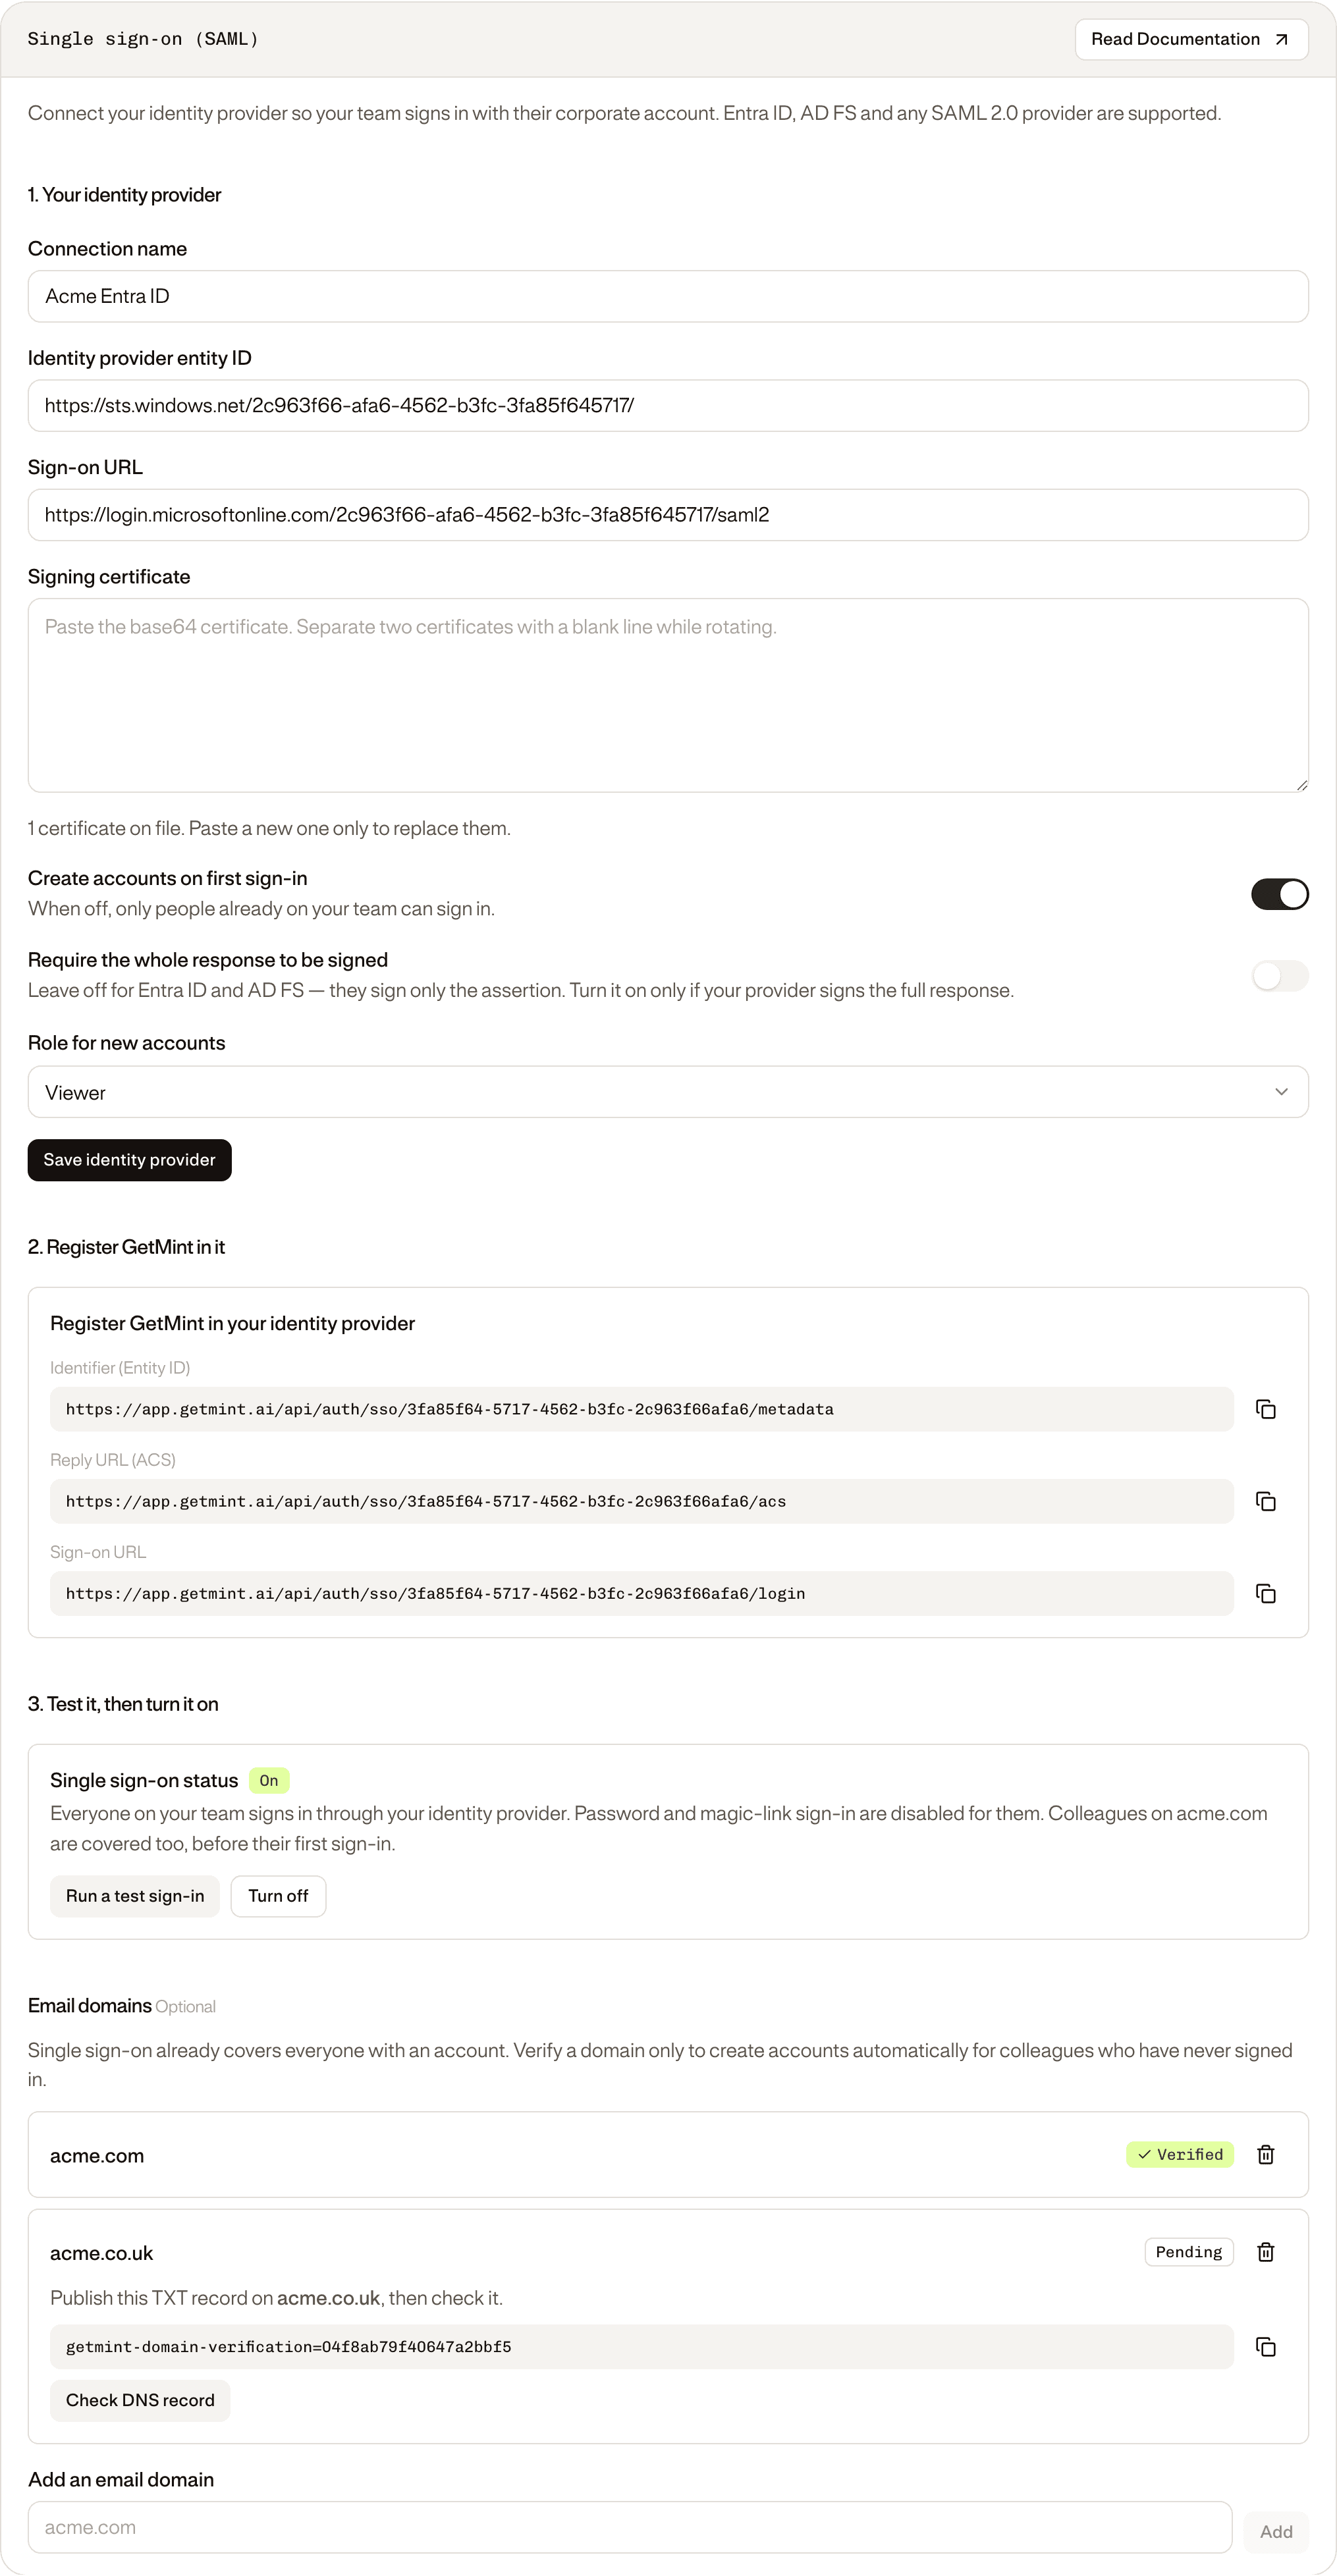
Settings → Team → Single sign-on (SAML), section 1. Your identity provider.
| Field | What to enter |
|---|---|
| Connection name | A label for you, e.g. Acme Entra ID. |
| Identity provider entity ID | Entra ID: Microsoft Entra Identifier, https://sts.windows.net/<tenant-id>/. AD FS: the Federation Service identifier. |
| Sign-on URL | Entra ID: Login URL, https://login.microsoftonline.com/<tenant-id>/saml2. AD FS: https://<your-adfs-host>/adfs/ls/. Must be https. |
| Signing certificate | Base64 or PEM. Entra ID: the Certificate (Base64) download. AD FS: the exported Token-signing certificate. |
| Require the whole response to be signed | Off for Entra ID and AD FS — they sign only the assertion. |
| Create accounts on first sign-in / Role for new accounts | Leave for later; greyed out until a domain is verified. |
Click Save identity provider. The certificate is stored but never shown again — the form reads "1 certificate on file". Paste a new one only to replace it.
Step 2 — Register GetMint in your identity provider
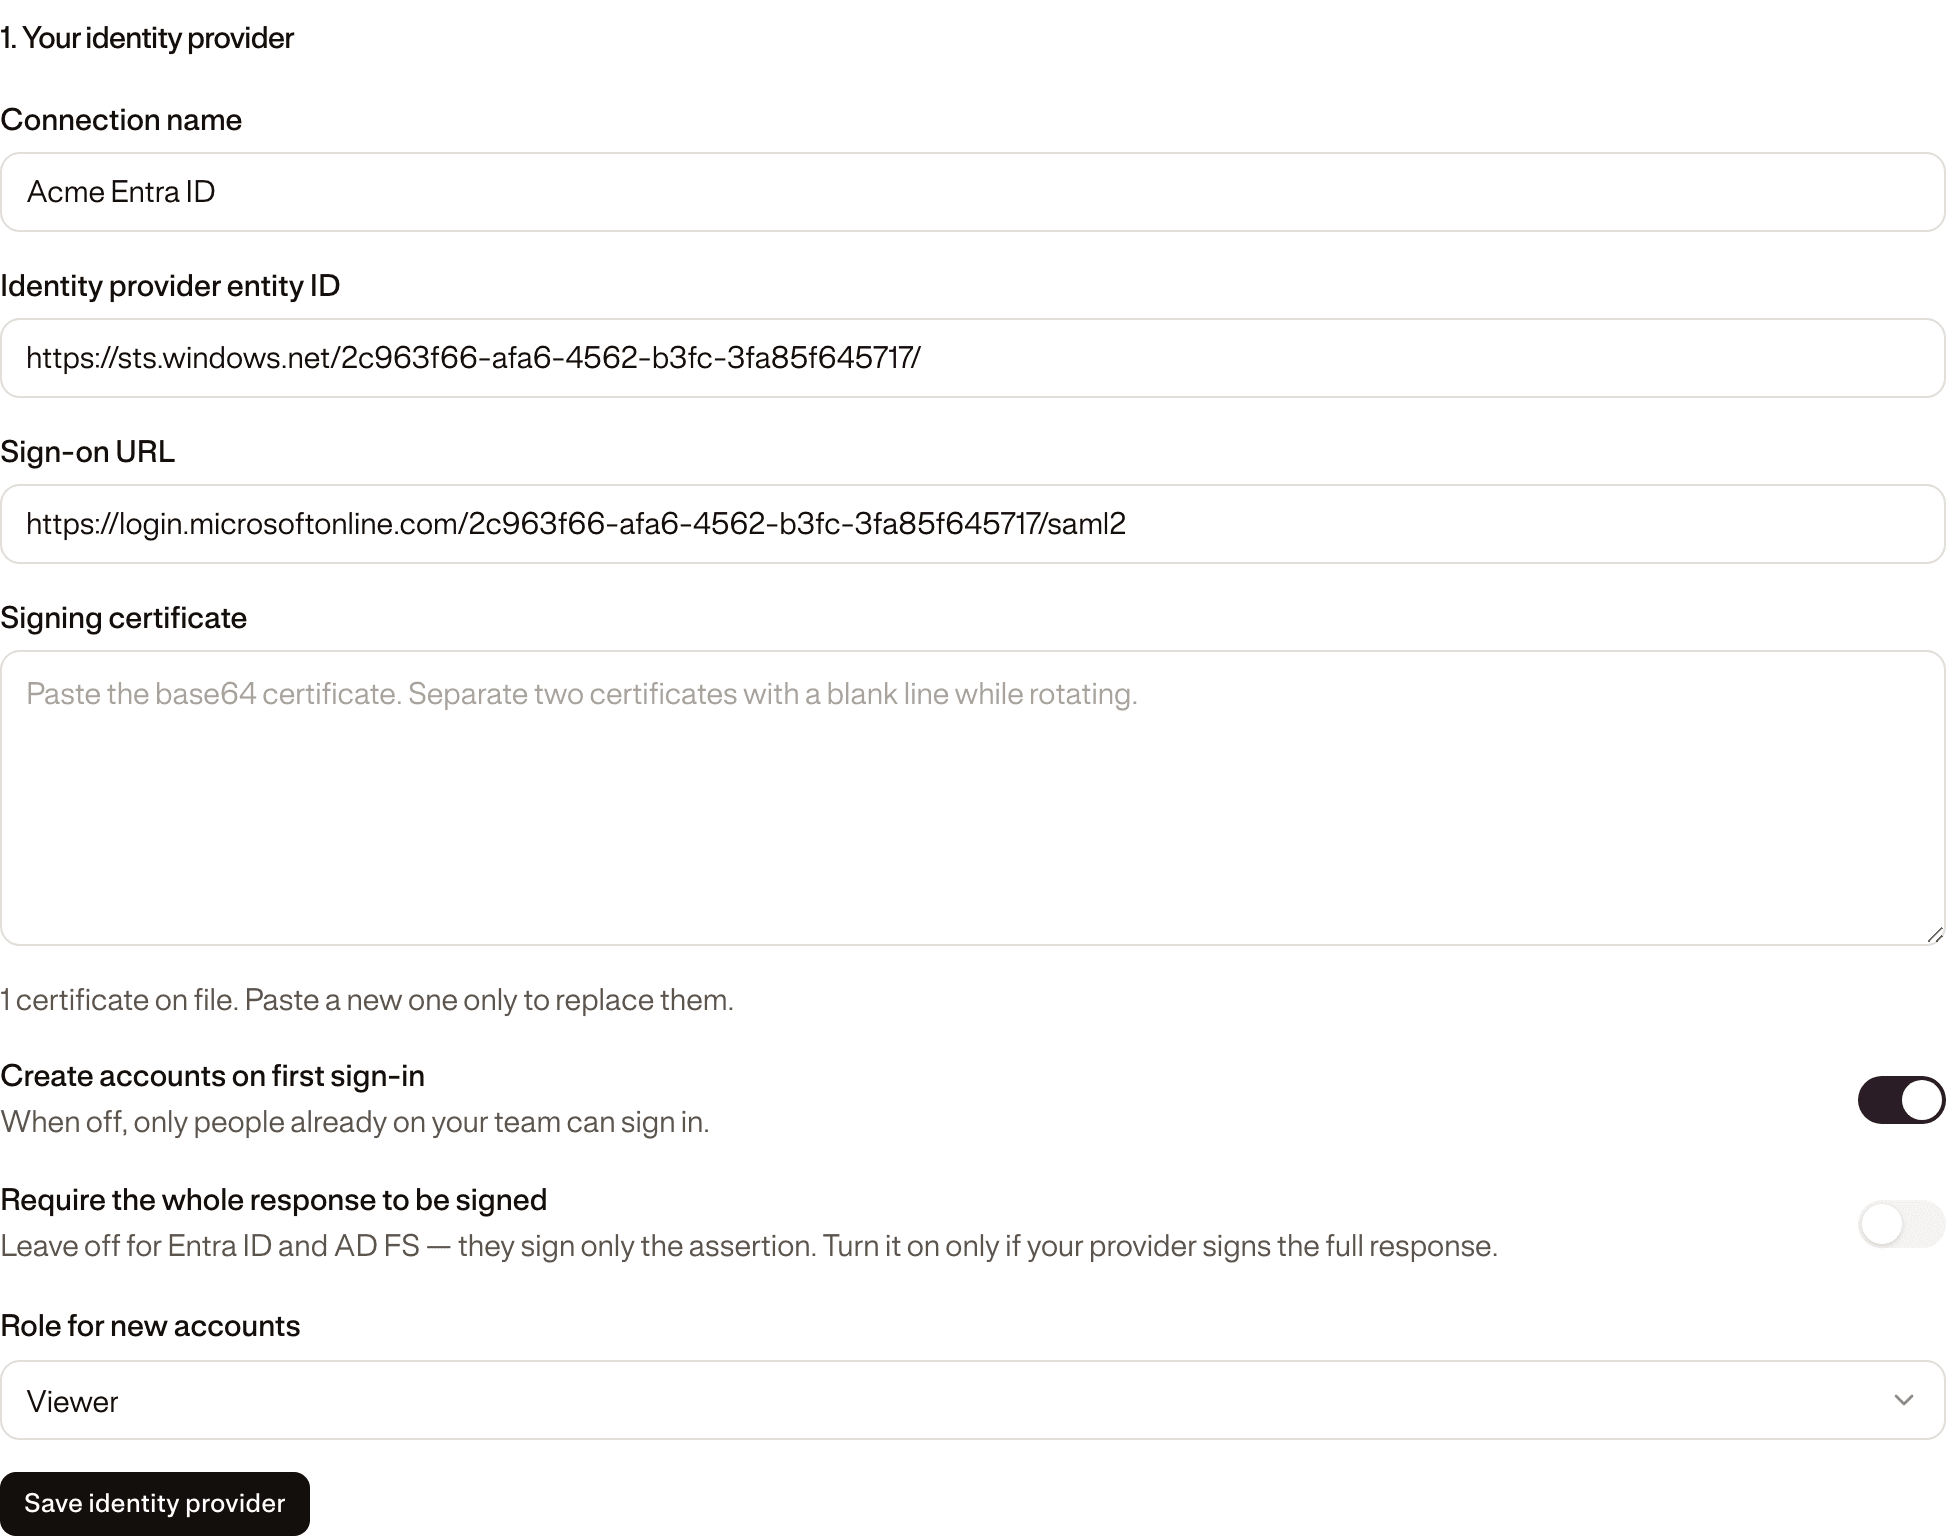
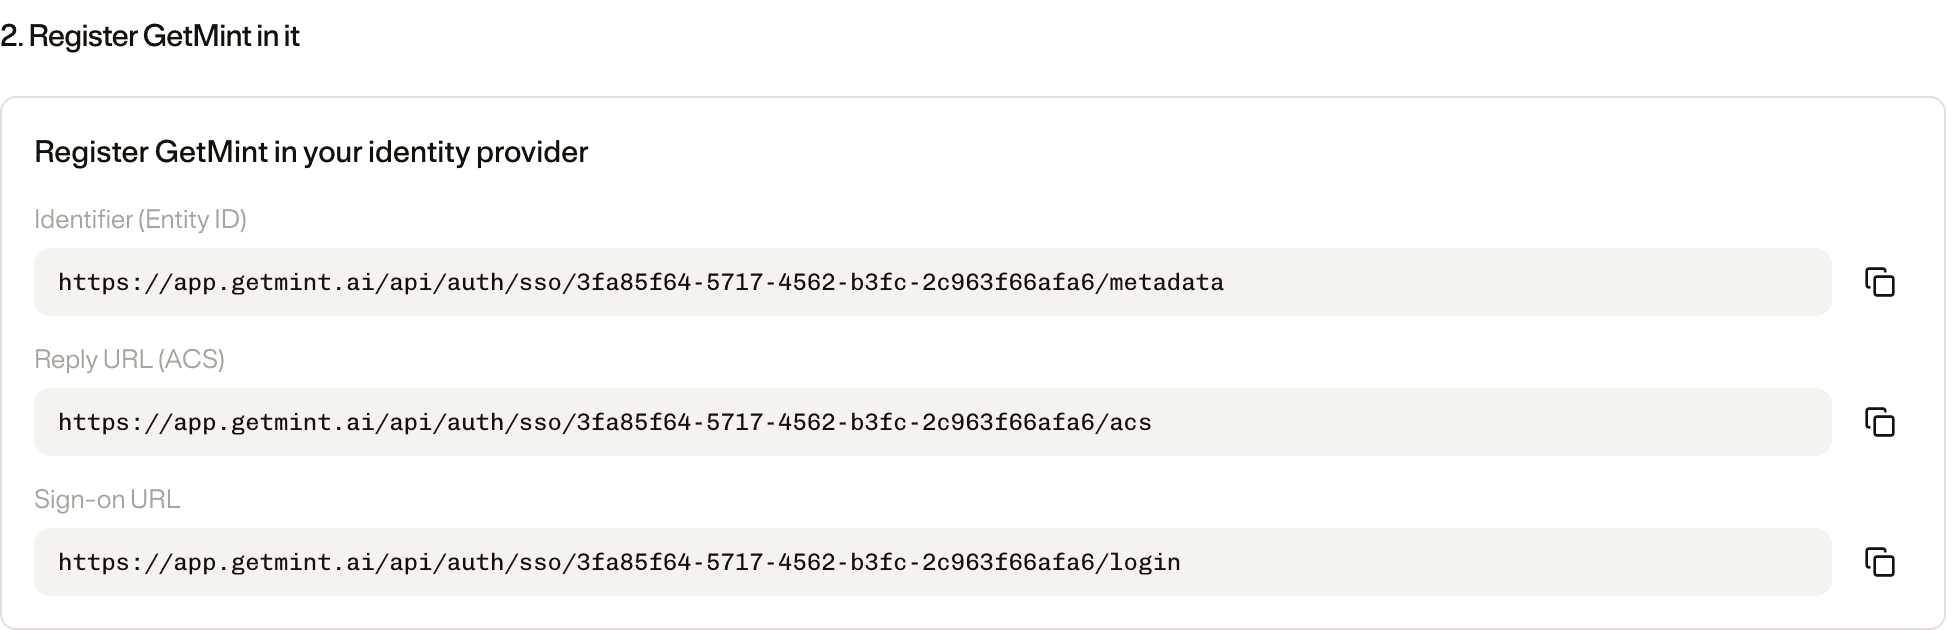
Saving reveals section 2. Register GetMint in it: three values, each with a copy button, unique to your connection.
| GetMint shows | Where it goes |
|---|---|
| Identifier (Entity ID) | Identifier (Entity ID) in Entra ID; Relying party trust identifier in AD FS. |
| Reply URL (ACS) | Reply URL (Assertion Consumer Service URL) in Entra ID; the SAML Assertion Consumer endpoint in AD FS. |
| Sign-on URL | Sign on URL in Entra ID, so the portal tile opens GetMint. |
GetMint reads email, first and last name from the claims Entra ID and AD FS emit by default (…/claims/emailaddress, givenname, surname). With another provider, emit an email or mail claim or set NameID to the email address; names are optional. Then assign the people or groups who may sign in — your provider decides who can authenticate, GetMint still needs an account for them (existing, or created on first sign-in once a domain is verified).
Step 3 — Test it, then turn it on
Section 3. Test it, then turn it on shows the status: Not set up, On or Off.
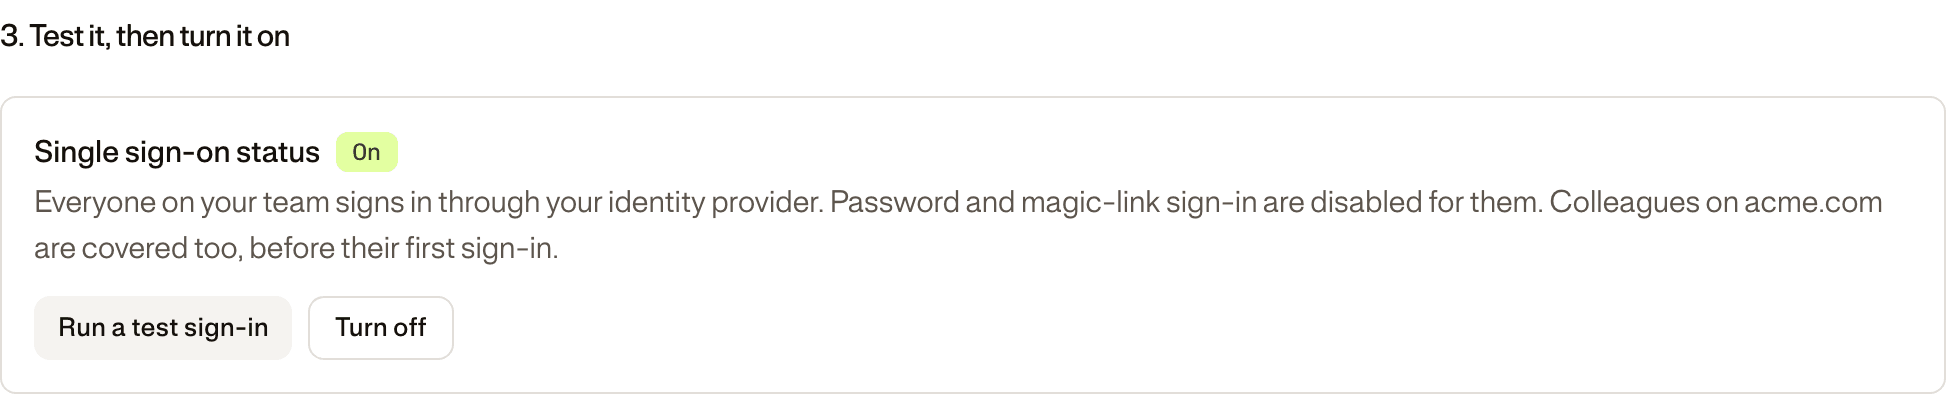
- Run a test sign-in and authenticate at your provider. You come back with "Test sign-in succeeded" or "Test sign-in failed: …" and the reason. A test signs nobody in and changes nothing.
- Turn on single sign-on becomes clickable once a test has succeeded. Click it.
From that moment every member signs in through your provider; password, magic link and Google are refused for them, colleagues on a verified domain are covered before their first sign-in, and inviting someone still adds them but sends no email — they simply sign in through your provider.
Optional — Verify your email domains
Membership already routes existing users through your provider. Verifying a domain adds two things: colleagues on it are routed there before their first sign-in, and GetMint can create their account when they arrive.
- In Email domains, add e.g.
acme.com. It shows as Pending with a value likegetmint-domain-verification=<token>. - Publish it as a TXT record on the domain itself (host
@). - Check DNS record — the domain turns Verified.
- Back in section 1, switch on Create accounts on first sign-in, pick Viewer or Editor, save.
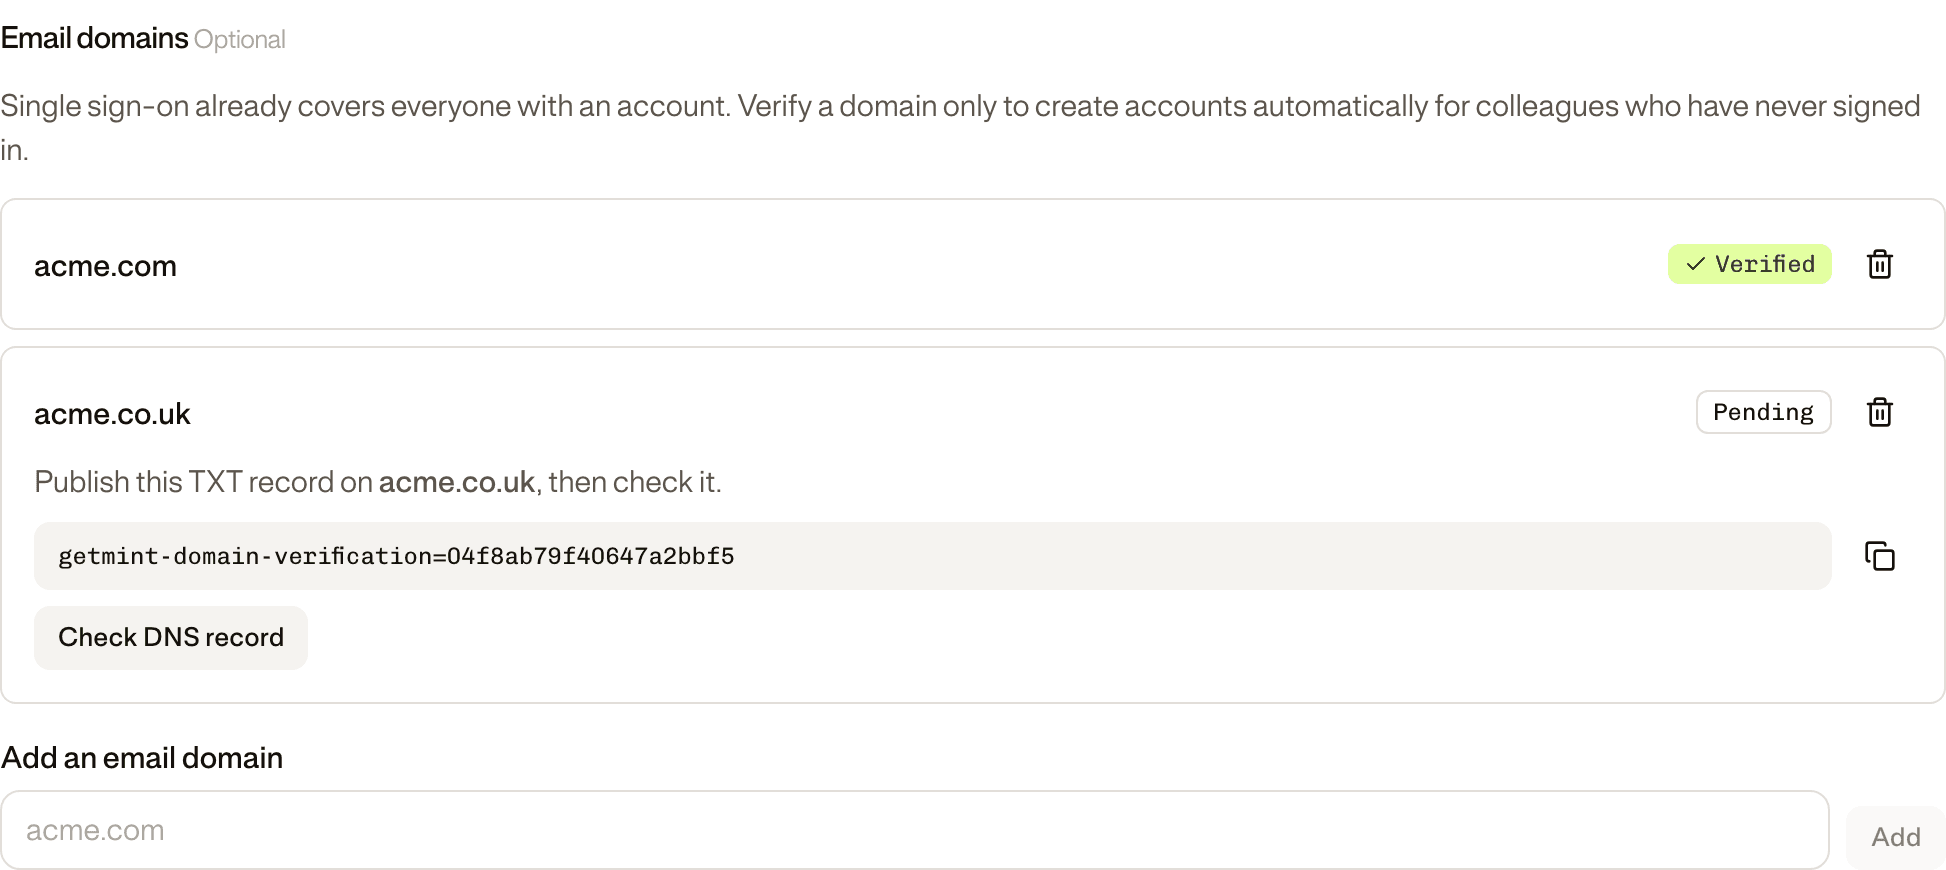
Good to know: up to 20 domains; public email providers are refused; "No matching TXT record found" means wait for propagation while "We could not reach DNS" means retry shortly; new accounts count toward your seat limit; an address already in another GetMint organization is refused, never moved; removing the last verified domain turns account creation off but leaves single sign-on on.
Rotate a certificate, turn it off, start over
- Rotation — paste the current and the new certificate separated by a blank line and save; either is accepted. Once the provider has switched, paste only the new one. Up to five can be stored.
- Turn off — password, magic link and Google come back immediately; the configuration is kept.
- Delete — removes everything, verified domains included.
- Locked out? Contact support: GetMint can lift enforcement so an admin can sign in and fix the configuration.
Troubleshooting
| What you see | Cause | Fix |
|---|---|---|
| Test sign-in failed: … | Certificate, entity ID or the whole response signed switch does not match the provider. | Compare step 1 with your provider, save, test again. |
| Single sign-on is not available for this link | Sign-in started from the provider's portal while the connection is Off or Not set up. | Turn it on, or start from the GetMint sign-in page. |
| This sign-in link has already been used | The same response was submitted twice (refresh or back button). | Start again from the sign-in page. |
| Your organization requires single sign-on | A password or magic-link attempt while it is on. | Expected — use Continue with single sign-on. |
| No GetMint account exists for this address… | No account, and either the domain is not verified or account creation is off. | Verify the domain and switch creation on, or invite them from the Team tab. |
| Your organization has reached its user limit | Account creation hit the seat cap. | Free a seat or upgrade. |
| "…" is a public email provider | A consumer domain was claimed. | Use your corporate domain. |
| Provider signed the user in, GetMint could not verify the sign-in | The assertion carried no email address. | Emit an email claim, or set NameID to the email. |
Key takeaways
- 01Enterprise plan, admin role, Settings → Team. No card? Ask your CSM to enable single sign-on.
- 02Four steps: enter the provider, register GetMint in it, run a test sign-in, turn it on — the button waits for a successful test.
- 03Once on, it is enforced: password, magic link and Google sign-in are refused for your team.
- 04Verify an email domain only to create accounts on first sign-in; membership alone already routes existing users through your provider.